Interior Progress - Furniture and Curtains
- spotzgelato

- Dec 1, 2020
- 5 min read
Last week we shared the changes happening in the kitchen of the Spotzmobile. This week we want show you more of the inside work that is happening!
The Spotzmobile, our Fifth-Wheel, is a 2008 Keystone Copper Canyon that we have owned for a couple years. It measures 34 feet and has a couple bedrooms with a den, kitchen and bathroom. It has two slides.
Last week, we told you all about our new kitchen and how we updated it. We are obsessed! Here's a reminder:

This week, we started bringing in all the new furniture and curtains. As a reminder, the RV originally had a loveseat and dinette that were built in in the den area. We had green fabric valances and heavy window shades. The floors were covered in green shag carpet and a brown linoleum. In case you have forgotten, here is what we started with:

As we previously shared, we removed all of the old furniture along with the carpet and linoleum. We coated everything with a new coat of crisp white paint and installed new grey plank flooring. What a difference just those improvements made!

Despite being hideous looking, the original loveseat and dinette really didn't fit our lifestyle and we wanted to update the furniture to fit our family. Because our camper will just be used by two adults, we really didn't need all the extra sleeping areas that the old furniture pieces provided. We decided to replace the existing furniture with a regular couch and two recliners.
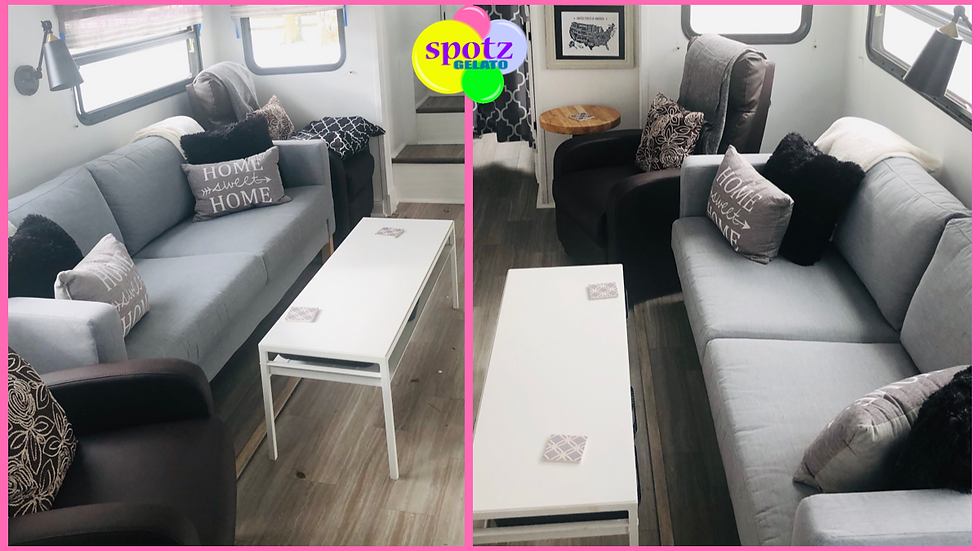
We were going for a very streamlined, modern look that fit in with a grey, black and white theme. Within the den slide, we only had 144 inches of space (12 feet!), so we had to chose our new pieces very carefully so that we had enough space for everything. First, we chose 2 leather recliners that were very streamlined and narrow but still comfortable. We purchased these online from Amazon. For the sofa, we wanted something in a durable fabric that wouldn't show dirt and preferred grey color. We found the perfect couch at Ikea! It was a very plain design and came with grey covers that can easily be removed and washed. It was the perfect size and allowed enough room to add a small coffee table in front. Here's the finished look:

We added some matching pillows to dress up the couch and added some throw blankets to the recliners to tie it all together. Next, we added some flat desk baskets on the shelf of the coffee table to hold remotes and magazines. We even spray painted the baskets black (with Rustoleum Plastic Spray Paint from Lowe's) so they would match the rest of the decor. They fit perfectly and will keep everything neat and tidy when we travel. When traveling, we can easily move the coffee table into the kitchen area to accommodate the slide.

Next, we tackled the privacy issues that exist in any RV. Our layout has a master bedroom in the front of the coach and a combination bedroom / office in the back. Originally the front bedroom had heavy oak wooden sliding doors to separate the master from the den area. To separate the back bedroom, we started off with an accordion style sliding paper shade type thing. It was incredibly flimsy and even though it was attached at the ceiling, it only extended as low as a person's waist and didn't reach the floor. It offered relatively no privacy and was extremely ugly. Both of these things hung on tracks mounted to the ceiling of the RV. Our solution was to swap out the hardware in the tracks and hang matching curtains. In the back, we used a pair of full length curtains that reach almost all the way to the floor. For the front bedroom, we used matching curtains but hemmed them to just dust the floor of the master. Perfect and matching, too!

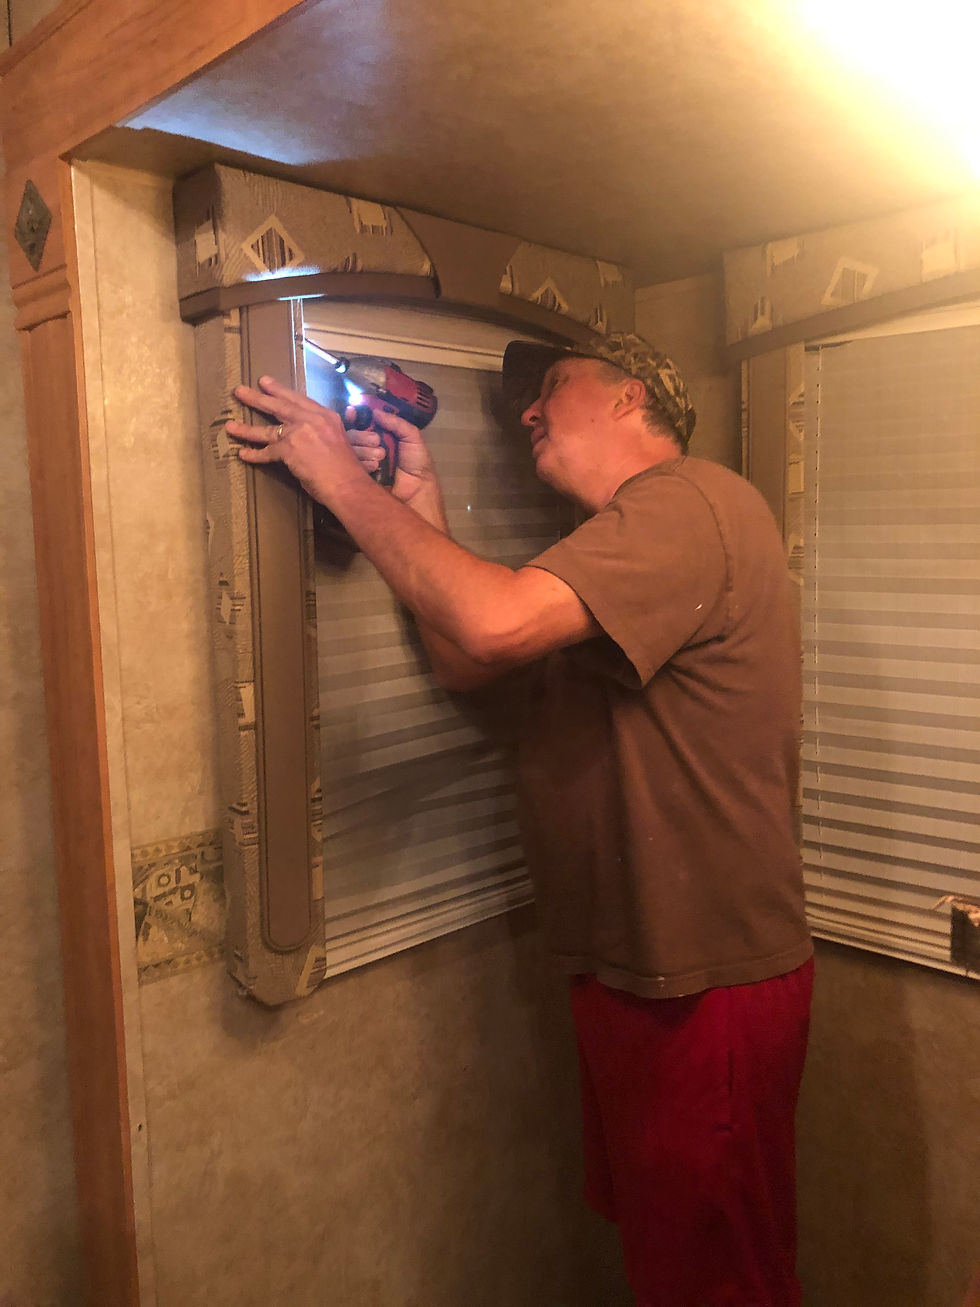
You probably remember how awful the window treatments in the fifth wheel were, right? We had heavy brown fabric cornices and sides that covered cellulose pleated day / night window shades. Awful. Here's a reminder:

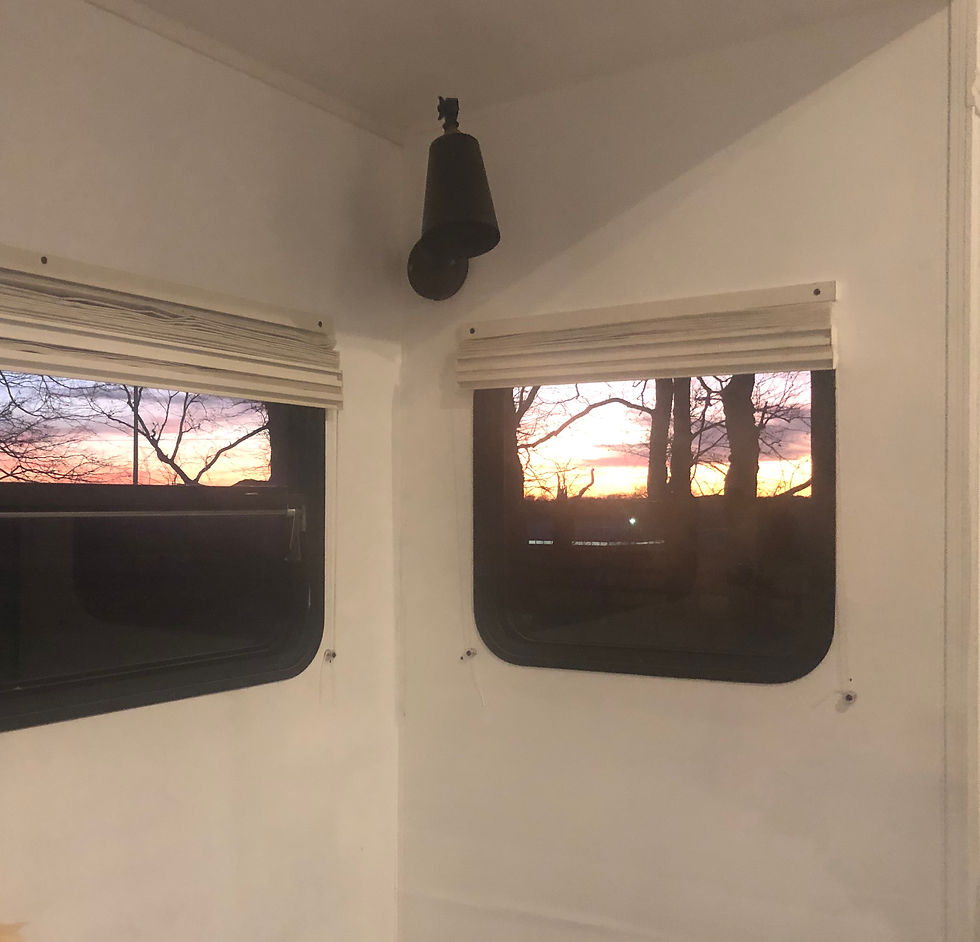
We removed the old cornices and the day/night window shades. During our construction, we really liked having the windows uncovered and hated to cover them completely again. We really liked the coverage that the old day/night shades had provided and liked that you could close them all the way and they only covered the top of the window. However, we hated how dingy and dark they looked. Our solution was to throw them all in the bathtub and bleach them with regular household bleach. It cleaned them up nicely and even brightened up the color some.

After all the shades had dried, we rehung them all and then added a new fabric valance to each window. We sized the valances so they were long enough to hide the shades when they were completely open. Here's how we did it:
We measured the top of each of the day/night shades that were mounted on our eight windows. We added 2 inches to each measurement and added all of the measurements together to get our total fabric length. Next, we ordered some really cheap, but long table runners from Amazon. They were 103 inches long and made of a grey burlap and we ordered enough to cover the total length we needed. The edges were already pre-sewn which cut down on the amount of sewing we had to do. Next, we ordered rolls of coordinating 3 inch cloth ribbon with wire edges.
We cut the table runners into the correct lengths (the width of the shades + 2 inches) and used the sewing machine to hem up any unfinished ends. Then we hot glued pieces of the ribbon in the correct length along the bottom of each valance. To hang the valances, we cut 1"x2" boards to the correct length (the width of the shades + 1 inch). We used a staple gun to staple each of the valances to the top of and around the ends of each board and then used 3/4" L brackets screwed to the bottom end of each of board and then screwed them to the wall to mount them. We temporarily used a little painter's tape to tape each edge to the wall to "train" them. Confused yet? Here's a pic to help:

Even though they were really simple and easy to do, the new valances hide the day/night shades completely when not in use but still allow us to lower the shades at night when we need some privacy. Perfect!

Can't wait until next week to show you the rest of the changes happening inside the coach. We are so excited about what's going on in the back bedroom / office. Any ideas?? Here's a sneak peek...


